Last updated November 20, 2026
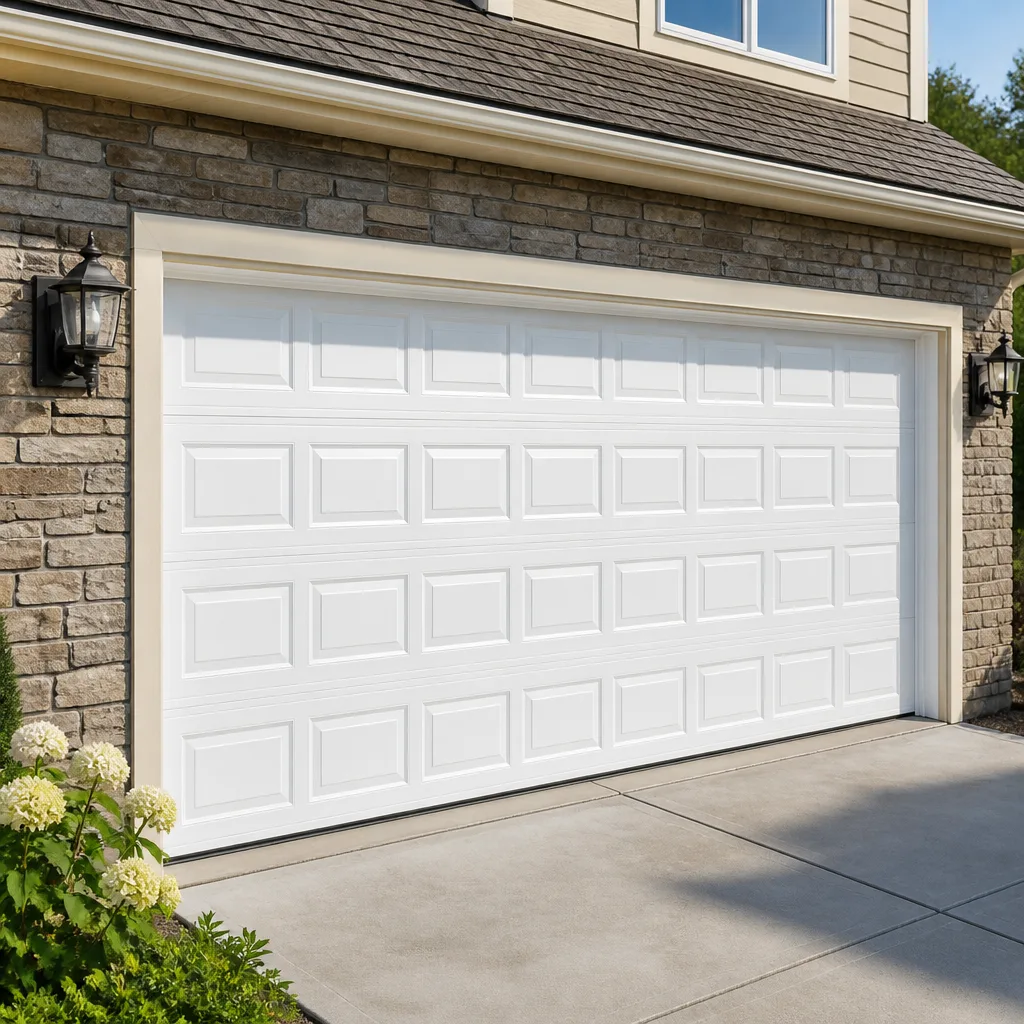 Raised-panel steel
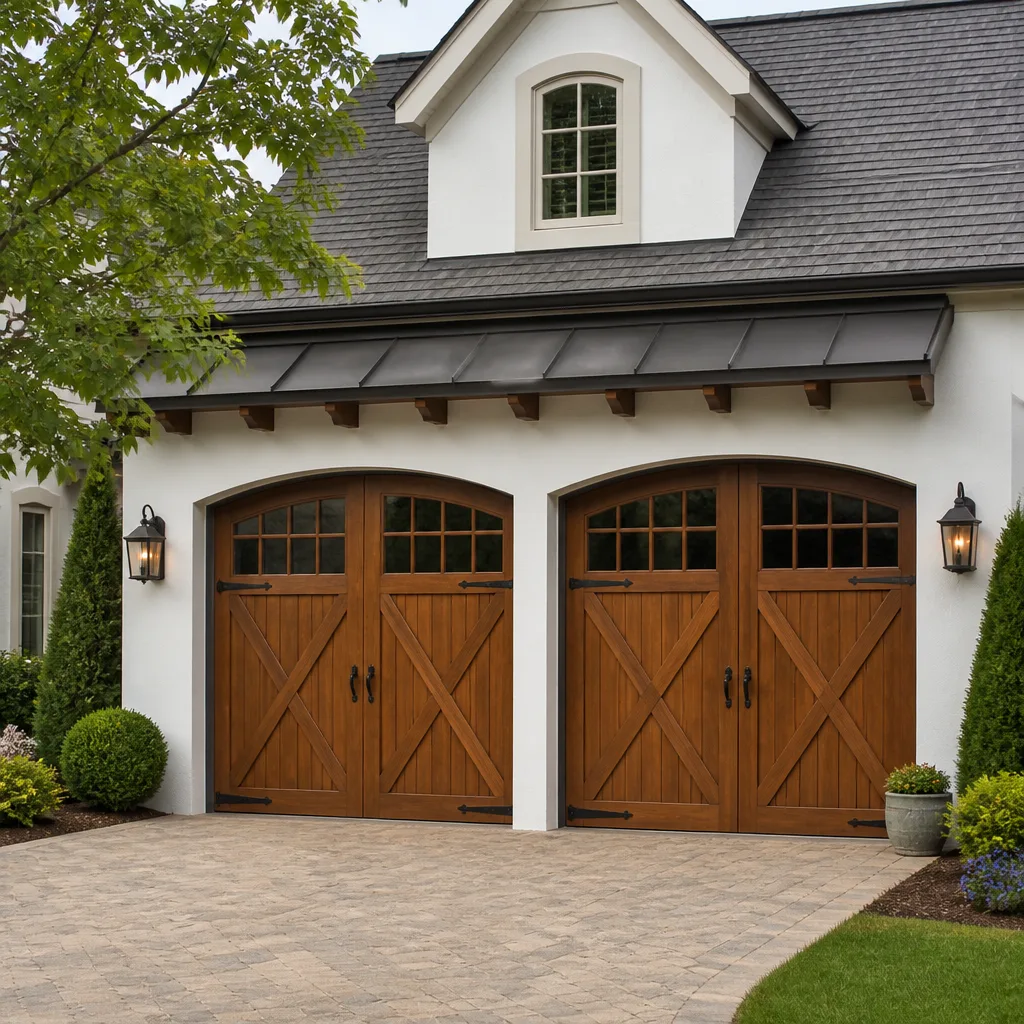 Carriage house
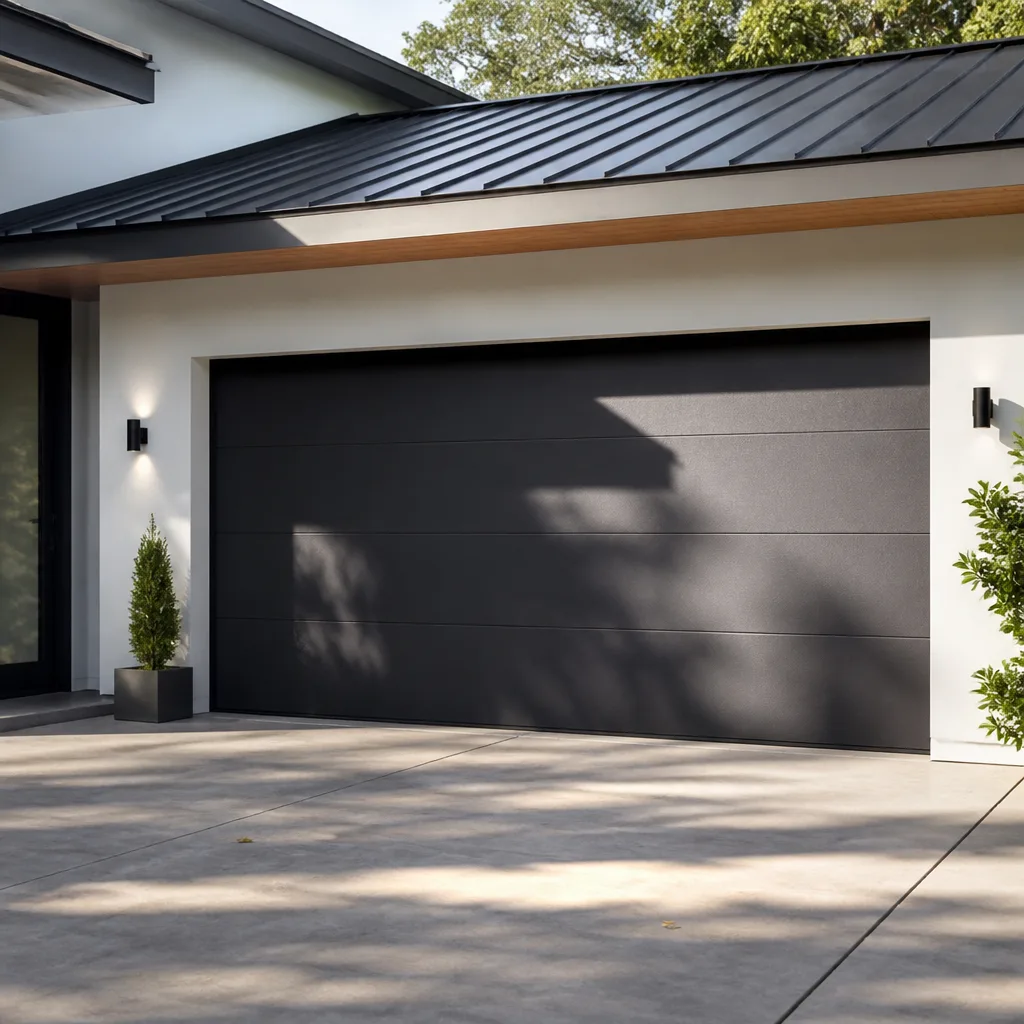 Modern flush
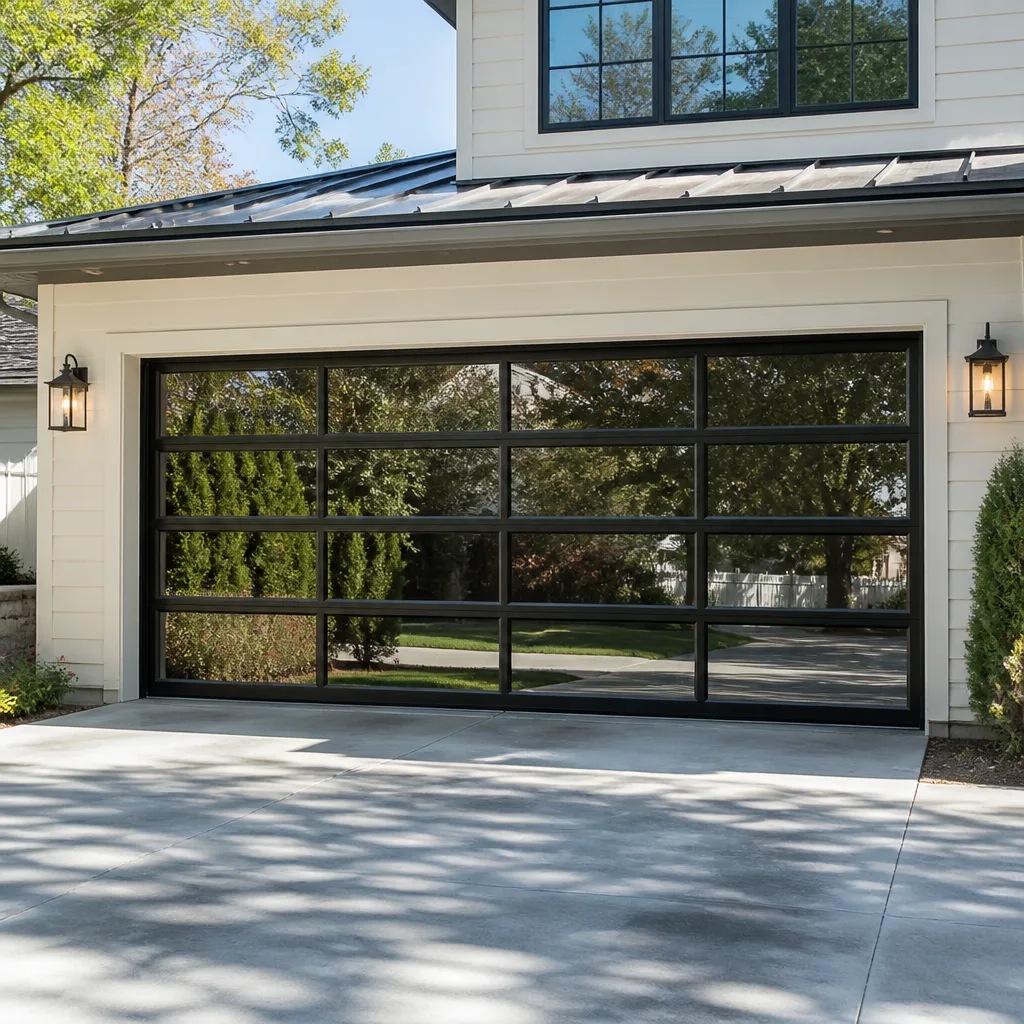 Full-view glass
 LiftMaster openers
 Chamberlain openers
Full 25-point door and opener safety check with every visit - springs, cables, rollers, tracks, and your LiftMaster or Chamberlain opener included
You get a price before we start. It does not change when the pro arrives.
Get your free estimateDIY vs Professional Garage Door: The Westminster Homeowner’s Decision Guide
Most homeowners frame the DIY-versus-professional question as a skill test: how handy are you, and how much can you save? That framing gets people into trouble. A garage door is a balanced mechanical system under constant load, and the real dividing line isn’t whether you’re capable of turning a wrench. It’s whether a mistake in the specific component you’re touching stays contained, or whether it quietly changes the geometry of the whole door for months afterward. Some tasks are genuinely safe to do yourself. A few are not, no matter how many videos you watch. This guide draws that line component by component, specifically for homeowners in Westminster, where altitude changes some of the math.
Quick Answer
Painting panels, reprogramming remotes, cleaning sensors, and lubricating moving parts are genuinely safe DIY tasks. Torsion springs, extension springs, cables, drums, and the header bracket are not, because a wrong wind or a mis-set cable stores energy that can release days or months later. Leave those to a professional. A written estimate costs nothing, and it protects both the door and you.
Styles & brands we work with
- Raised-panel steel
- Carriage house
- Modern flush
- Full-view glass
- LiftMaster openers
- Chamberlain openers
Table of Contents
- Why the Line Is Drawn at the Component, Not the Job
- The Tasks That Are Genuinely DIY-Safe
- Where the Consequence Risk Is Real
- What “Voiding Your Warranty” Actually Means for Chamberlain, LiftMaster, and Craftsman
- Tool and Skill Prerequisites, Honestly Stated
- The Colorado Altitude Factor Nobody Talks About
- Cost Comparison That Accounts for Do-Over Risk
- Common Mistakes to Avoid
Why the Line Is Drawn at the Component, Not the Job
A job-level question asks, “Can I fix my garage door?” A component-level question asks, “Which parts of my garage door can I safely work on?” The second question has a real answer. The first one depends entirely on which part has failed, and most homeowners don’t know that until they’ve opened the door and looked.
Here’s the underlying principle. A garage door is a counterweight system. The springs hold the weight of the door, and the opener only has to move a small fraction of that load. Everything else, the cables, the drums, the hinges, the rollers, exists to transfer that counterweight energy smoothly. Touch a component in that load path, and any error propagates through the whole system. Touch a component outside it, like a cosmetic panel or a remote, and an error stays local.
That’s why the DIY question splits so cleanly:
- Outside the load path: cosmetic, electronic, and cleaning tasks. A mistake costs you a little time or money.
- Inside the load path: springs, cables, drums, brackets. A mistake stores energy that releases later.
The second category is where we see homeowners get into trouble most often in Westminster, particularly when they’ve watched a single video and assumed the technique transfers cleanly to their door. It doesn’t always, especially at altitude, and we’ll get to why.
The Tasks That Are Genuinely DIY-Safe
We don’t want to talk anyone out of working on their own door. A lot of maintenance genuinely belongs in your hands, and doing it yourself keeps small problems from becoming expensive ones. Here’s what we’d happily hand over to a reasonably motivated homeowner.
1. Painting and refinishing panels
Cosmetic work has no interaction with the load path. A scratched or faded steel panel is a preparation and paint problem, not a mechanical one. Sand, prime, and coat, and you’re done. The one caveat: don’t paint over hinges, rollers, or the bottom weather seal, and don’t apply so much material that it changes the weight of the door noticeably. A few coats of latex on the panels won’t move the needle. A shower of enamel on every visible surface might.
2. Reprogramming remotes and keypads
Reprogramming is safe and mostly a matter of following the protocol for your specific opener brand. LiftMaster, Chamberlain, Genie, and Craftsman each have their own sequence, and it’s easy to give up after two attempts. If the remote still doesn’t respond after you’ve followed the manufacturer’s steps, the problem is usually the remote battery or the logic board, not your technique. That’s a diagnostic problem, not a DIY failure.
3. Cleaning safety sensors
The photo-eye sensors near the floor at each side of the door are the most common cause of a door that reverses or refuses to close. A dry cloth on the lens and a check that the beam is lined up solves most of these issues in a minute. In Westminster, where blowing dust and pollen settle on outdoor hardware, sensor cleaning is monthly maintenance, not an occasional fix.
4. Lubricating hinges, rollers, and tracks
A proper garage door lube on the hinges, rollers, and the curved portion of the track extends the life of every rolling component. Use a dedicated garage door lubricant, not WD-40, which is a solvent, not a lube. Avoid the flat horizontal track and the spring itself. Spray the moving parts and wipe away any drips.
5. Replacing the bottom weather seal
The seal is a wear item, and a homeowner with a screwdriver and a replacement strip can usually handle it. It’s accessible, it isn’t under tension, and a mistake just means a draft until you try again. This is the boundary task: safe with basic tools, and the kind of thing we’d rather you do yourself unless the old seal is fused to the retainer.
Where the Consequence Risk Is Real
Now the other side of the line. Torsion springs and their associated hardware hold enormous stored energy, and the failure mode isn’t just “you cut yourself.” It’s “the system is now out of balance and will fail in a way you don’t notice until it does.”
Torsion springs
A torsion spring is wound to a specific number of turns based on door weight, drum size, and cable geometry. Get the turns wrong by two or three, and the door may still open and close normally for months. But the door is now operating against a torque it wasn’t designed for. Over time that imbalance works on cables, hinges, and the tracks until something fails. This is the specific scenario behind the opening of this guide: a torque error that stays invisible until it doesn’t. Torsion spring work is also the most injury-prone task in the trade, which is why it’s never a good candidate for a first DIY attempt.
Extension springs
Older doors use extension springs that run along the horizontal track. They’re less common on newer installs, but Westminster has plenty of older doors still running them. Extension springs under load can fail violently if they slip a safety cable, and replacing them requires controlled release and proper safety cable routing. This isn’t a two-person job with a bucket and a ladder.
Cables and drums
Cables are under constant tension and are wound onto cast-aluminum drums. A cable that slips off a drum during DIY work can snap back under load. Re-spooling cables correctly requires the door to be locked, the spring to be de-tensioned, and the drum seated to a specific tolerance. If you’re not sure what that tolerance is, the door isn’t in a state you should be touching.
Header bracket and track mounting
The header bracket holds the torsion shaft, which holds the springs, which hold the door. It’s bolted into framing above the opening, and if the bolts back out or the framing is compromised, the whole assembly can shift under load. Diagnosis here is as much structural as it is mechanical. Leave it to a technician who can see the framing condition and check the lag bolts, which a homeowner generally can’t evaluate without a trained eye.
We handle both torsion and extension springs as a dedicated service line, because this is exactly where a specialist settles the question.
What “Voiding Your Warranty” Actually Means for Chamberlain, LiftMaster, and Craftsman
“Voiding your warranty” gets thrown around as a scare tactic, and the reality is narrower. For Chamberlain, LiftMaster, and Craftsman, the opener manufacturer’s warranty covers the opener unit and, on many models, the drive components. It doesn’t automatically extend to the door, the springs, or the panels, and most of those warranties aren’t written to cover user work on components the manufacturer doesn’t consider part of its product.
A practical breakdown of where DIY work touches a warranty:
- Opening the opener case or replacing a logic board: This is the area most likely to be excluded under a manufacturer warranty, even if you do it correctly. The safe move is to have opener diagnostics and board replacement handled professionally.
- Springs, cables, drums: These are typically not covered under opener warranty terms, so a DIY spring error won’t “void” the opener warranty. It does, however, put the door itself out of balance, which can accelerate wear on the opener.
- Door panels and cosmetic work: Cosmetic panel work is outside the load path and outside typical warranty terms. Refinishing panels carefully doesn’t put anything at risk.
- Remote reprogramming: Safe. Not a warranty concern. Do it.
The key point: for Chamberlain, LiftMaster, and Craftsman, the warranty most likely to matter is the one on the opener. If you’re going to ignore the line above, don’t do it inside the opener case. If your opener is failing and you’re not sure why, garage door opener repair is the path that protects the warranty and gets the unit diagnosed correctly. If you’re not sure which Chamberlain model you have, look at the label on the back panel. That label tells you what’s covered and what the manufactured work already does.
Tool and Skill Prerequisites, Honestly Stated
This isn’t gatekeeping. If you have the tools and the patience, a lot of this work is within reach. Here’s an honest inventory of what each category requires.
Tools for the DIY-safe tasks
- Painting panels: Sandpaper, painter’s tape, a brush and roller, a quality exterior paint, and a day of decent weather.
- Reprogramming: The manual on your specific opener brand, a fresh battery, and five minutes of patience.
- Sensor cleaning: A dry microfiber cloth and a level to check that the sensor is aligned.
- Lubrication: A can of garage door lube and a rag. Nothing exotic.
- Weather seal: A screwdriver, replacement seal, and a ladder.
Tools and skills the load-path tasks require
- Two winding bars sized to your spring (not screwdrivers, not a piece of rebar).
- A clamp or locking pliers to lock the door in place while you work.
- An understanding of your door’s weight, drum size, and spring wind count, which you should confirm before you buy a replacement spring.
- A spotter. Never wind or unwind a torsion spring alone.
- Comfort with the fact that the spring is under tension the entire time.
The gap between those two lists is the real answer to the DIY question. It isn’t a statement about your intelligence. It’s a statement about whether a small error has a small consequence or a large one. If you can’t confidently check off every item on the second list, the task belongs with a technician. That’s the standard we’d apply to our own homes.
The Colorado Altitude Factor Nobody Talks About
Westminster sits at roughly 5,200 feet of elevation, and that changes spring math in ways that most DIY videos don’t address. Most of what’s on YouTube was filmed near sea level, and a garage door isn’t exempt from the physics that apply up here.
The basic issue is air density. The springs on your door are specified to hold the door’s weight at a specific tension. At altitude, the door itself is very slightly lighter to lift (the door is not buoyant, but the burden on the spring is calibrated against the actual load, and the tolerances for getting that load right are tighter), and more importantly, the temperature swings that come with Colorado winters create more variance in the mechanical behavior of the springs and drums than at sea level. A spring that’s wound a couple of turns off spec is less forgiving up here. The door may feel fine for months and then reveal the imbalance as a sudden failure when the temperature drops or spikes.
That’s the practical takeaway from the opening of this guide. A torque error made down at sea level may show up sooner and more obviously. The same error at 5,200 feet, on a door that gets used daily, may stay quiet for a year or more before it shows up as a door that’s off its tracks. When a Westminster homeowner replaces a spring and sizes it by feel instead of by spec, the error can be invisible long enough to be forgotten. That’s when it becomes expensive.
This is also why spring sizing for a Westminster door should be based on the door’s actual weight and the manufacturer spec for the specific spring, not a swap-and-guess on a similar-looking part from a big-box shelf. Our technicians have up to 11 years of experience getting that spec right, and we size springs for the elevation, not the catalog.
Cost Comparison That Accounts for Do-Over Risk
DIYers tend to compare the cost of parts to the cost of a professional repair. That comparison looks favorable, until you factor in the cost of the job getting done twice. The real number is the cost of a correct repair on the first try, not the cost of a parts purchase that might work.
Here’s a general cost framing for common garage door work in Westminster. These are typical estimated ranges, and the written estimate you receive sets the final price. Every job is different, and a door with a rusted drum or a failing panel will land at the high end or beyond.
- Torsion spring replacement (one spring): roughly $180 – $340. A matched pair is usually replaced together and costs about twice that.
- Extension spring replacement: roughly $150 – $300 per door, depending on the setup.
- Cable and drum work: typically included in a spring repair job when it’s done as a set, or priced separately at $100 – $250 depending on hardware.
- Opener repair (brand-native diagnosis): roughly $150 – $350 for common Logic board, gear, and sensor issues, varying by brand.
- Opener replacement: roughly $350 – $700 installed, depending on unit and drive type.
- Full door installation: varies significantly by door size, material, and insulation. A written measure is the only reliable way to quote this.
- General repair visit: roughly $120 – $250 for common issues like rollers, hinges, and sensor alignment.
What a do-over actually costs
When a DIY spring job fails, the cost isn’t just the wrong spring you bought. It’s the correct spring plus the hardware that failed while the door was running out of balance. Cables, drums, and hinges typically need to be replaced after a failed DIY attempt, which can push the total past what a professional spring job would’ve cost in the first place. That isn’t a scare tactic; it’s the common outcome.
There’s a second do-over risk most DIYers don’t account for: the diagnosis. If the door’s problem is actually a failing drum or a cracked hinge, and the homeowner replaces the spring, the door still isn’t right. A professional start-to-finish diagnosis catches the actual problem before the work begins. If your door is binding, garage door repair starts with an assessment, not a guess, and the price is quoted and agreed before any work starts, so you’re not surprised by a bigger invoice once the door is apart.
There’s also a warranty overlay worth factoring into the cost math. Chamberlain, LiftMaster, and Craftsman all handle their own warranty terms, and a failed DIY repair on the door can accelerate wear on the opener, pushing a covered issue outside what the manufacturer will honor. When a covered opener fails after a DIY spring job, the coverage question is a lot murkier than it needs to be. That’s a hidden cost you can’t see until it happens, but it’s real.
Common Mistakes to Avoid
We’ve seen these repeatedly, in Westminster and around it. Each one is avoidable.
- Replacing a spring without checking door weight and drum size. The spring has a specific wind count, and buying “close enough” is the most common way a door ends up running against wrong torque for months. Confirm the door’s weight and spring spec before touching anything.
- Using screwdrivers as winding bars. Screwdrivers slip, and winding bars are made to fit the spring end exactly. If the screwdriver slips back, the energy stored in the spring comes back at you, not the door. This is the single most common serious injury in the trade.
- Assuming a YouTube video transfers to your door. Door weight, drum size, and spring type vary widely by brand and year. Most videos are made for a specific model, not yours.
- Ignoring altitude when sizing a replacement spring. The tolerances up here are tighter. A spring sized by feel instead of spec can leave the door imbalanced long enough to cause downstream damage.
- Tightening the opener case instead of diagnosing it. Opener issues are usually brand-specific, and the fix differs between Chamberlain, LiftMaster, Genie, and Craftsman. Guessing at it can damage the logic board, which is exactly the part the manufacturer warranty tends to cover.
- Skipping lubrication because the door “feels fine.” A door that isn’t lubed runs harder, which translates into wear on the rollers, hinges, and opener motor over time. Monthly lube on the moving parts is the cheapest maintenance a garage door has.
- DIY-ing a spring and then forgetting the job was done. The most dangerous version of a DIY spring job is one that appears to work. A door that’s been re-sprung with a torque error can run for a year before it reveals itself, which is why we recommend a professional assessment even when a prior DIY spring job seems to have gone fine.
See the difference
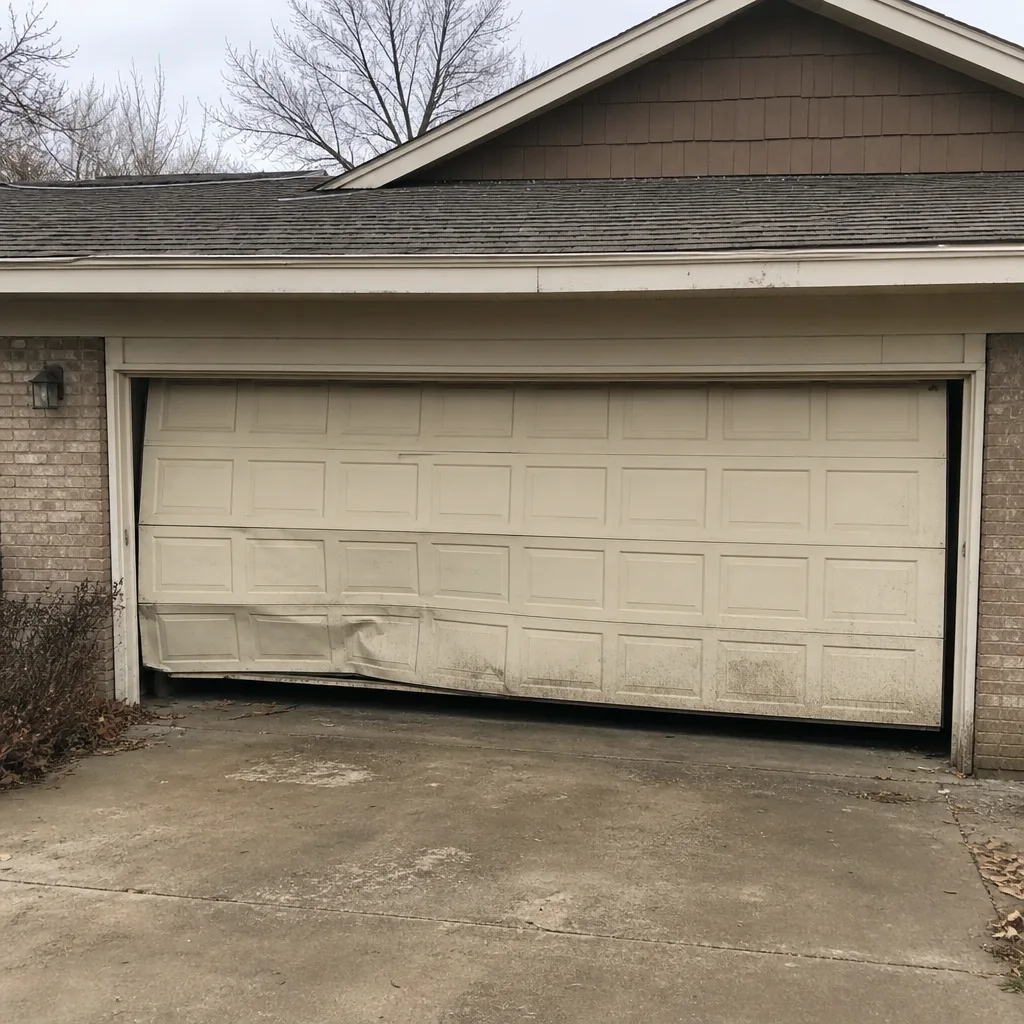 Before
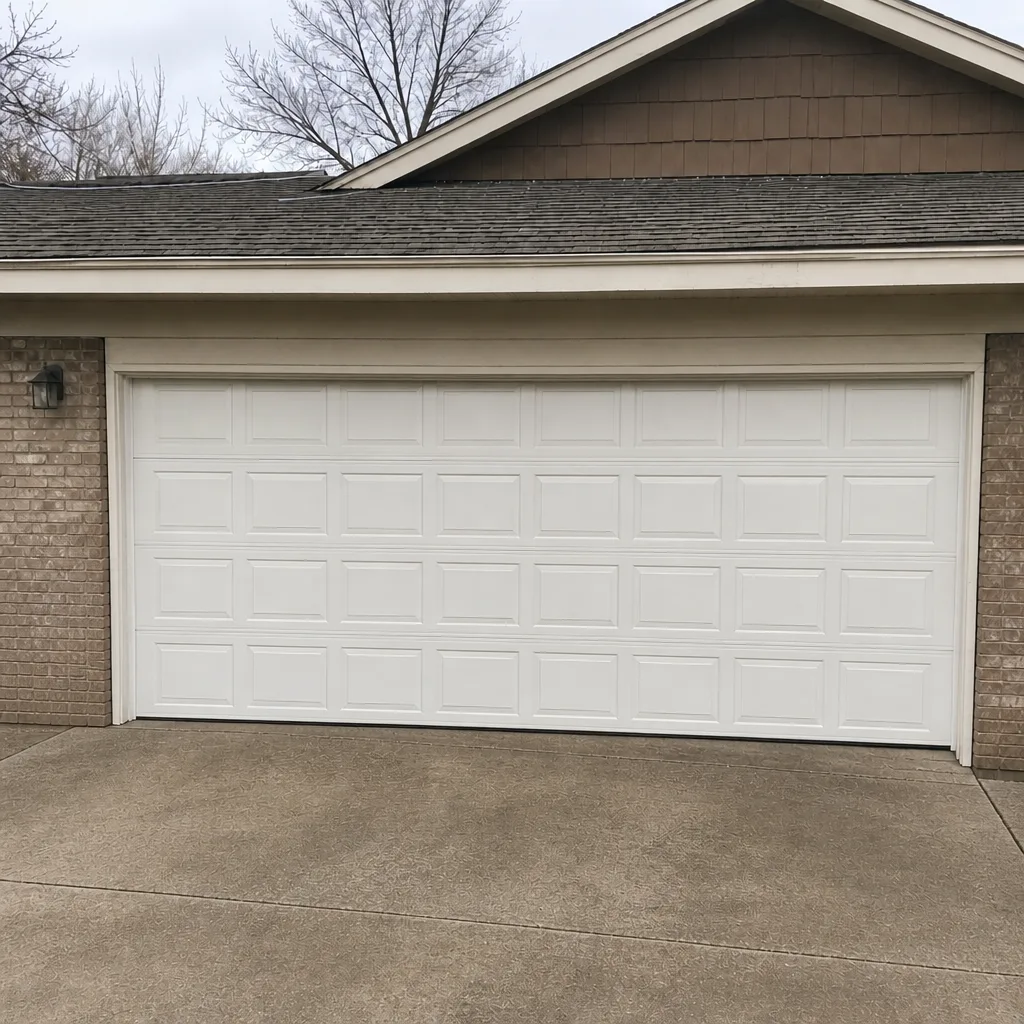 After
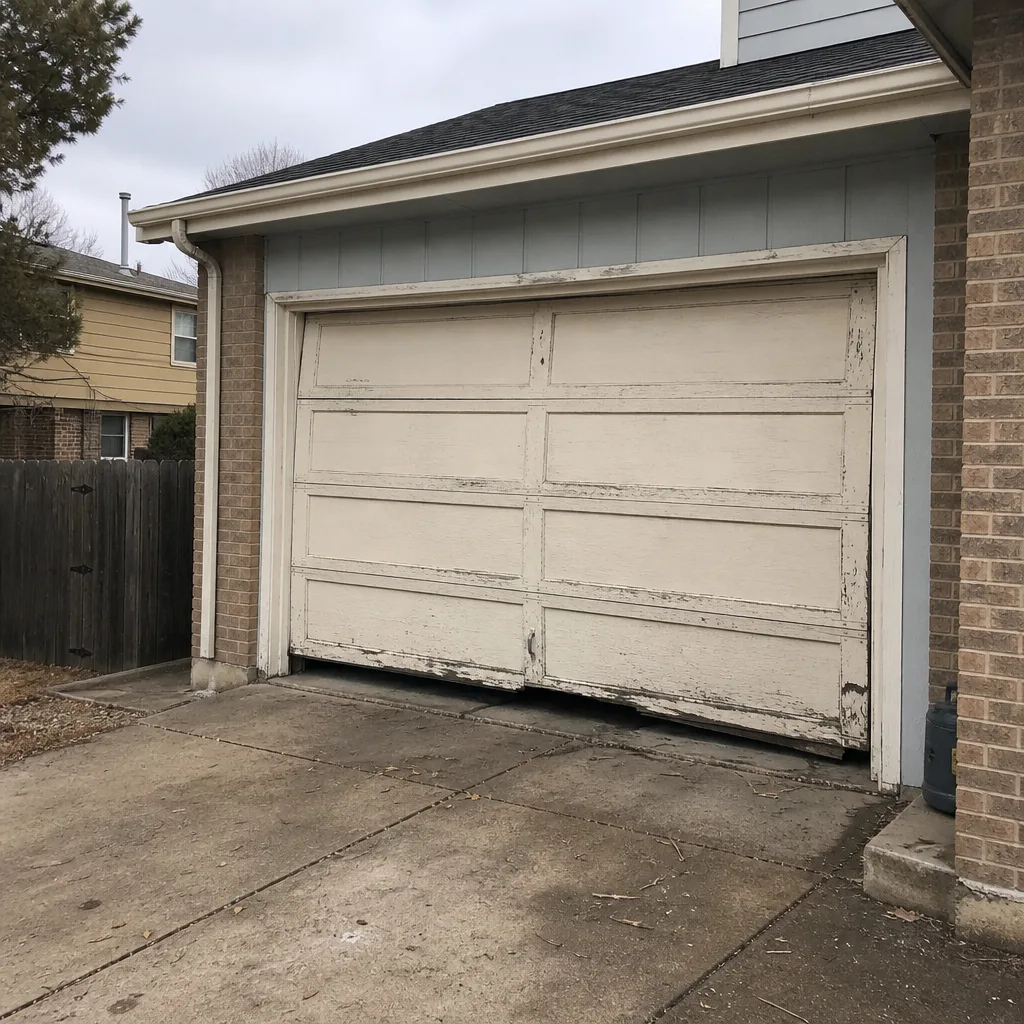 Before
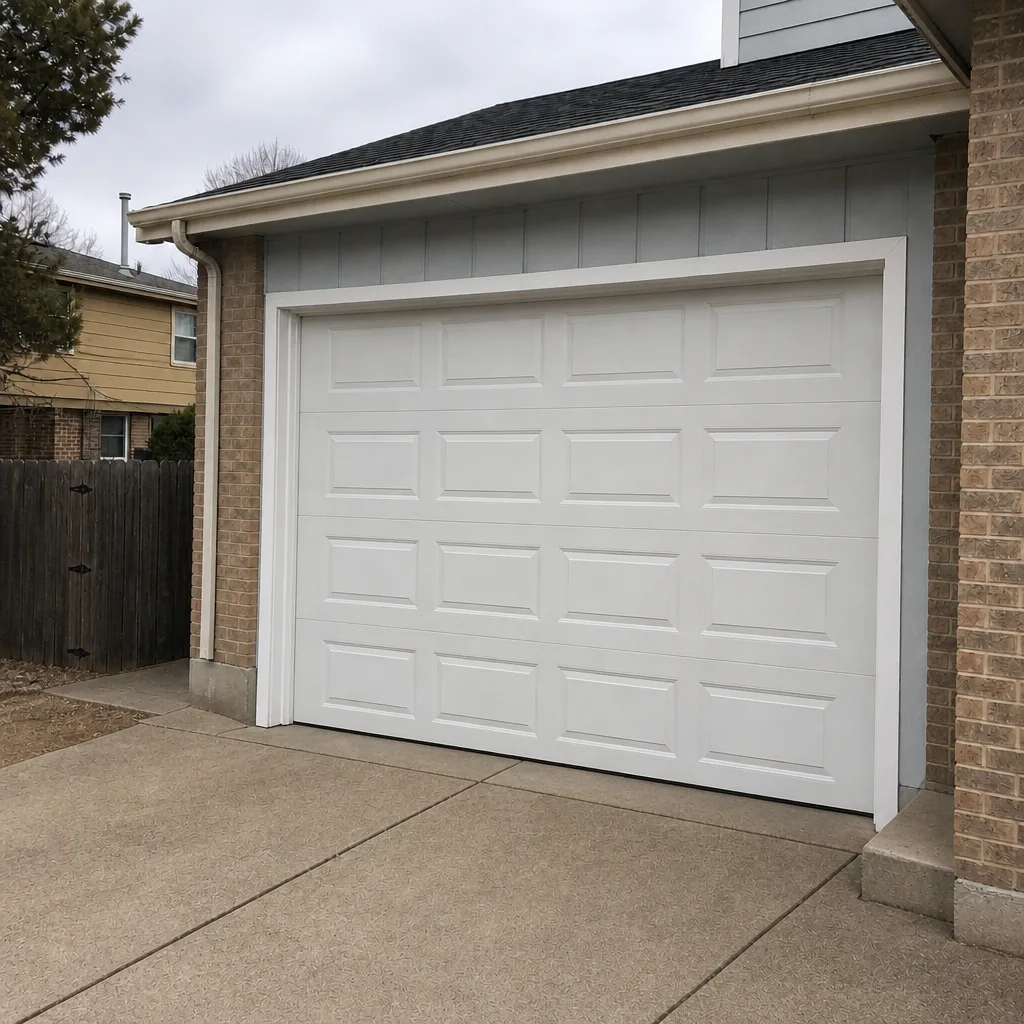 After
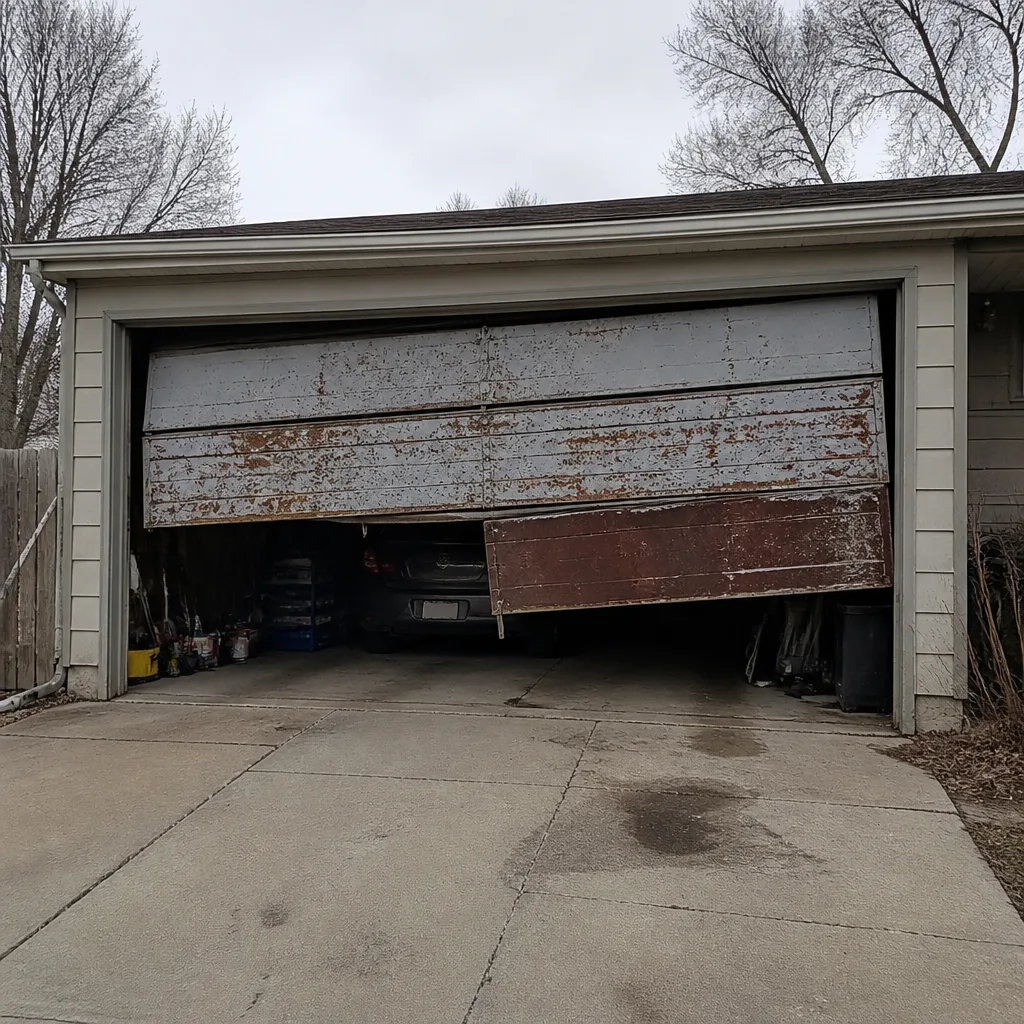 Before
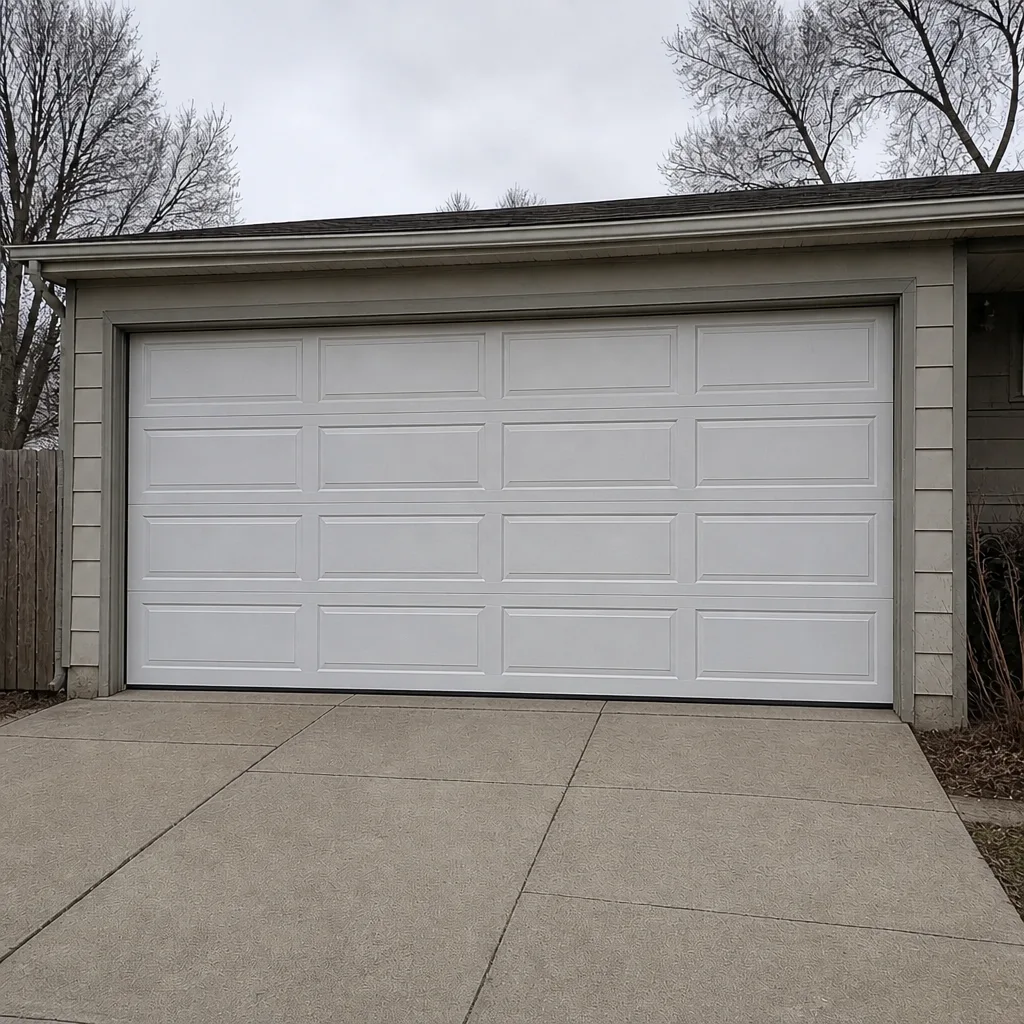 After
When to Call a Professional
Call a professional when the problem is in the load path, when you’re not sure what the problem is, or when the door has already been repaired by someone else and you’re chasing a symptom. Those are the three situations where a DIY attempt is most likely to make a contained problem worse. Torsion spring repair, cable and drum work, header bracket diagnosis, opener logic board replacement, and full garage door installation are all in that category. We work on LiftMaster, Clopay, Chamberlain, Genie, Amarr, Wayne Dalton, Craftsman, and Raynor under one roof, which means we’re diagnosing to the brand’s logic, not to the nearest generic fix.
Westminster Garage Door Repair Pros offers free estimates in Westminster. The price is quoted and agreed before any work starts, and we’ll tell you honestly when a job is DIY-safe so you’re not paying for something you can handle. Call (844) 484-8234 to book a free estimate.
Frequently Asked Questions
No, we don’t recommend it. Torsion springs store enough energy to cause serious injury, and the wind count has to be right for your specific door and elevation. At Westminster’s altitude, a spring that’s wound slightly off spec can leave the door imbalanced for months before it fails. Call (844) 484-8234 for a free estimate on a professional spring repair.
Typical torsion spring repair in Westminster runs about $180 – $340 for one spring. A matched pair is usually replaced together, so expect roughly twice that for a pair. Extension spring replacement is typically $150 – $300 per door. The written estimate sets the final price, and the price is quoted and agreed before work starts. Call (844) 484-8234 for an exact quote, which costs nothing.
Not automatically, but it depends on what you touched. Cosmetic work and remote reprogramming won’t affect a manufacturer’s warranty. Opening the opener case or replacing a logic board is the most likely area to be excluded. For the door and springs, the manufacturer’s opener warranty usually doesn’t apply, so a DIY spring job won’t void it, but the door’s balance can wear on the opener. Call (844) 484-8234 if you’re not sure which side of the line you’re on.
Yes, painting panels is a genuinely DIY-safe job. The panels aren’t in the load path, so a mistake is cosmetic and fixable. The only cautions are to avoid painting over hinges, rollers, or the bottom seal, and to avoid applying so much material that the door’s weight changes noticeably. Call (844) 484-8234 if you’d rather not paint yourself.
The most common cause is a torque error: the spring was wound too tight or too loose for the door’s weight. That imbalance works on the cables, drums, and hinges over months and eventually pushes the door off its tracks. It’s a consequence that can stay invisible for a year or more, especially at altitude. Call (844) 484-8234 for a free assessment before a small imbalance becomes a costly repair.
No. Your written estimate is the agreed price, quoted before any work starts. If our technicians find an additional issue that changes the scope, they’ll explain it and re-quote before touching anything further. Call (844) 484-8234 for a free estimate that you can rely on.
The Bottom Line
The DIY-versus-professional question isn’t about your handiness. It’s about consequences. Cosmetic work, remote programming, sensor cleaning, lubrication, and weather seals are within reach for most homeowners and worth doing. Torsion springs, extension springs, cables, drums, and header brackets are not, because a small error there stays quiet and then shows up as a bigger repair, especially at Westminster’s altitude. Our technicians have up to 11 years of experience getting that spec right. If you’re on the fence, call before you buy parts. The cost of the wrong answer is always higher than a free estimate.
Westminster Garage Door Repair Pros works on the door, the springs, the opener, and the hardware as one system, whether you’re in Westminster or nearby. Call (844) 484-8234 for a free estimate and an honest read on whether your job belongs in your hands or ours.
Written by the team at Westminster Garage Door Repair Pros.